written on 01/06/2021
Remote MDX with Next.js
Recently I migrated this website from Gatsby to Next.js. During the migration, I also decided to migrate the content from Markdown to MDX. With the offical guides and resources I struggled a bit to set this up in a proper way. So after figuring all these small bits, I decided to write an article on how you can setup your Next.js page with MDX.
You can find a small cheat sheet at the end of the article that skips most of the explanations in this article. Also feel free, to check out the example repository containing the actual code here: igeligel/remote-mdx-next.
What is MDX
If you read this article you probably know Markdown. It is a content format that you can use to style text. This markdown cheat sheet shows this quite nicely. A problem for developers was always on how to include more complicated content in these files. Markdown supports HTML in most cases as well, but a problem is that modern development changed.
1Lorem Ipsum23<SomeComplicatedInteractiveGraph data={data} />45Some longer text describing the graph.
Styles are injected into React components directly or are rendered with styled-components or emotion. Another problem related to that is to use custom components for the markdown text. No one wants to write this for every paragraph:
1<p>Lorem Ipsum</p>
Instead in markdown, you should be just able to write
1Lorem Ipsum
And it should use a custom paragraph component somehow. Most markdown and MDX rendering engines support that via custom configurations. Some engines had some problems with the interpretation and compilation of styles that we will look at later.
When looking for solutions regarding MDX, you will most likely find this blog article: "Markdown/MDX with Next.js" by Lee Robinson. The blog article is really good but fails at some point. The problems appear with “Remote Markdown and MDX” which will be covered now. For that, we need to set up a quick project. So let me run you through.
Creating the Next.js Project
Since we will create the base ourselves and will use TypeScript, I will explain how to setup a basic TypeScript/Next.js project as well. You can find the documentation here.
1mkdir remote-mdx-next2cd remote-mdx-next3npm init -y4yarn add next react react-dom5yarn add @chakra-ui/react @emotion/react @emotion/styled framer-motion6yarn add gray-matter @mdx-js/react @mdx-js/runtime7yarn add -D typescript @types/react and @types/node @types/mdx-js__react
Next, we need to add some commands to our package.json file.
1"scripts": {2"dev": "next dev",3"build": "next build",4"start": "next start"5}
Now we can start creating a page. Let us create a folder called pages first. In the folder, a file should be created that is called index.tsx. The content should be like this:
1const Home = () => {2return <div>This is Home</div>;3};45export default Home;
That should render a home page on localhost:3000.

Laying out the different pages
So you are probably reading this article to get to know how MDX is now rendered. As explained in the official blog article linked above, MDX can be rendered in different ways. If you really just have static pages and do not really care about layouting feel free to use the mentioned approach in the documentation. My setup was a bit more sophisticated. So let us focus on what we want to achieve:

So there is a generic post page. The generic in this sense means that Next.js is actually doing something during the generation phase of the HTML to check if a path is valid. The feature is called dynamic routes and documentation can be found here.
So the workflow for our page should be similar to this:
- User opens
/some-random-path - Our server looks up if it can find
some-random-path.mdx - If successful, it will render the MDX as HTML and send it to the client
The unhappy path can be done by responding with a 404, but this will already happen if you decide to statically export the pages which we will try here.
So now we can actually start with creating the page. In the pages directory, create another file that is called [post].tsx. The content, for now, should look like the following:
1import { GetStaticPaths, GetStaticProps } from "next";23const Post = () => {4return <div>Test</div>;5};67export const getStaticProps: GetStaticProps = async (props) => {8return { props: {} };9};1011export const getStaticPaths: GetStaticPaths = async () => {12return {13paths: [14{ params: { post: "some-random-path" } },15{ params: { post: "alternative-random-path" } },16],17fallback: false,18};19};2021export default Post;
There are many things that are different now. So let us focus on some parts first. First we should look at what functions are defined here:
Post: This our usual Page React component.getStaticProps: This function is normally used to fetch data. This data is getting fetched during build time. So normally during your deployment. After the deployment this data will not changed. It is static.getStaticPaths: This functionality is needed when usinggetStaticProps, so Next.js knows for which paths it should generate data. This is because the component name is[post].tsx. The[post]is the placeholder for all URLs you define undergetStaticPaths.export default Post: Just thePostReact component exported.
So in our example, you should start looking at the exported object in getStaticPaths:
1export const getStaticPaths: GetStaticPaths = async () => {2return {3paths: [4{ params: { post: "some-random-path" } },5{ params: { post: "alternative-random-path" } },6],7fallback: false,8};9};
The two highlighted lines are the exported paths for this component. This means [post].tsx actually relates to /some-random-path and alternative-random-path. The important part here is to have the key in the object named the same as the file it will relate to. Something like the following will not work:
1export const getStaticPaths: GetStaticPaths = async () => {2return {3paths: [4{ params: { slug: "some-random-path" } },5{ params: { slug: "alternative-random-path" } },6],7fallback: false,8};9};
So what happens is that Next.js exports the returned object from getStaticPaths and pass this object to the getStaticProps function as the props parameter. This will enable us to read the post property inside the getStaticProps function. That is great, because it will enable us to query the MDX and meta information about the page.
Getting that MDX and passing it to the component
Now we have a setup where getStaticProps has access to the post parameter. Its actually time to get the MDX. So currently we have the following folder structure:
Let us create another directory, called content. Inside there we create two files: some-random-path.mdx, alternative-random-path.mdx. The whole directory structure should look like the following:
Both of these files should have some content now. For simplicity let us just enter a heading and a small paragraph like the following:
some-random-path.mdx
1# Some Random Path23Lorem Ipsum
alternative-random-path.mdx
1# Alternative Random Path23Some politician is really nice.
So now that there is content we can begin to read that MDX content and pass it to the proper component. To understand how this works, let us have another look at the getStaticProps function. Currently, this function just returns an object with the property props that is empty. The object in props will be then passed to the component Post and is available when the component is being rendered. So let us assumed the following:
1import React from "react";2import { GetStaticPaths, GetStaticProps } from "next";34type PostProps = {5someTestProperty: string;6};78const Post: React.FC<PostProps> = (props) => {9return <div>{props.someTestProperty}</div>;10};1112export const getStaticProps: GetStaticProps = async (props) => {13return {14props: {15someTestProperty: "Hello World",16},17};18};1920// Do not replace getStaticPaths21// ...
In that case, you can clearly see how someTestProperty is being passed to the component to be actually rendered in the page. For that just open http://localhost:3000/some-random-path:
So if this works, we can also read the MDX in that function and pass it to the component. We can use the node packages fs and path to read the actual content and pass it to the component. Remember you need to call toString() in this case because an MDX file by itself is not serializable. We are just doing it in this step to make it work. The component should look like the following then:
1import React from "react";2import fs from "fs";3import path from "path";4import { GetStaticPaths, GetStaticProps } from "next";56type PostProps = {7mdx: string;8};910const Post: React.FC<PostProps> = (props) => {11return <div>{props.mdx}</div>;12};1314export const getStaticProps: GetStaticProps = async (props) => {15const folderPath = path.join(process.cwd(), "content");16const filePath = path.join(folderPath, `${props.params.post}.mdx`);1718const source = fs.readFileSync(filePath);19return {20props: {21mdx: source.toString(),22},23};24};2526export const getStaticPaths: GetStaticPaths = async () => {27return {28paths: [29{ params: { post: "some-random-path" } },30{ params: { post: "alternative-random-path" } },31],32fallback: false,33};34};3536export default Post;
That will now just render the MDX as text. Nothing we want. But hey, we got the first part working. Passing the MDX content to the frontend. You can view the content on http://localhost:3000/some-random-path

Reading Meta information
MDX and Markdown both support the Meta information tag inside the content files. You can simply define it with like the following:
1---2seoTitle: "This is a nice title"3---45# Some Random Path67Lorem Ipsum
As you can see the first part is denoted by ---. This means that this is the meta information and actually should not appear in our rendered page. We need to extract it. Fortunately, someone has solved this already for us. Simply install gray-matter:
1yarn add gray-matter
That dependency is exporting a simple function that takes the MDX source code and splits it into two parts: The meta information and the actual content. So let us change our getStaticProps function. Hint: You might need to adjust types as well.
1import matter from "gray-matter";23// ...45export const getStaticProps: GetStaticProps = async (props) => {6const folderPath = path.join(process.cwd(), "content");7const filePath = path.join(folderPath, `${props.params.post}.mdx`);8const rawFileSource = fs.readFileSync(filePath);910const { content, data } = matter(rawFileSource);1112return {13props: {14mdx: content,15metaInformation: data,16},17};18};
That should also return us the meta information. Just use it if you really need it though. I use it to define extra data for Social Media for example. The description for the meta tag or the Twitter or OpenGraph Social Card. You can use that information to have next-seo in your application. That will take care around that meta information for the most part. I will skip this in this blog article because it would overblow the normal purpose. So for example the Post component could look similar to this now:
1const Post: React.FC<PostProps> = (props) => {2return (3<>4<div>SEO Information: {JSON.stringify(props.metaInformation)}</div>5<div>{props.mdx}</div>6</>7);8};
This is just example, do not change it if you follow this tutorial throughly.
Rendering the MDX
Now that the source is put into the component we can render it. The official Next.js blog recommends to use next-mdx-remote. This caused a lot of problems regarding custom components though. If you neccesseraliy need server-side rendered content and not static content it is still recommended to use, because the technique we are using in this blog article is not secure for user-input content. Instead we are using the @mdx-js/runtime that can run on the server in our case to generate the static HTML. We can use it by importing the required packages and just passing the read-out MDX content to the component:
1import { MDXProvider } from "@mdx-js/react";2import MDX from "@mdx-js/runtime";34// ...56const Post: React.FC<PostProps> = (props) => {7return (8<MDXProvider components={{}}>9<MDX>{props.mdx}</MDX>10</MDXProvider>11);12};
Ooopsie...This is still not working and will error with something like the following:
1error - ./node_modules/@babel/core/lib/transformation/normalize-file.js:9:02Module not found: Can't resolve 'fs'3null4Error from chokidar (E:\): Error: EBUSY: resource busy or locked, lstat 'E:\pagefile.sys'5Could not find files for /[post] in .next/build-manifest.json6Could not find files for /[post] in .next/build-manifest.json
Googling the error will help you to quickly solve the error. You have to extend the webpack config. But we can do that easily within Next.js. You can find documentation here, but I will make it quick for you. Create a file under root called next.config.js with the following content:
1module.exports = {2webpack: (config, { isServer }) => {3// console.log({ config });4// Fixes npm packages that depend on `fs` module5if (!isServer) {6config.node = { fs: "empty" };7}8return config;9},10};
Now, after a restart of the server, it should render the MDX with the normal HTML tags. Just open http://localhost:3000/some-random-path. You could start styling these components with global styles. The problem with that is, that it is quite hard to maintain and can cause conflicts in the overall application if style violations happen across different components. So let us assign custom components instead.
Customizing components
The MDX runtime (@mdx-js/runtime) provides an option to also pass components at render time. Runtime for us means the build part. When you statically deploy your project, it means runtime is most likely also build time. So in our case, if the content does not change during the client-side execution we can assume the function is getting called once and is safe to use.
The component option is called components and takes a basic object of properties. These properties are defined in the TypeScript defintions of the package that look like the following:
1declare module "@mdx-js/react" {2import * as React from "react";3type ComponentType =4| "a"5| "blockquote"6| "code"7| "del"8| "em"9| "h1"10| "h2"11| "h3"12| "h4"13| "h5"14| "h6"15| "hr"16| "img"17| "inlineCode"18| "li"19| "ol"20| "p"21| "pre"22| "strong"23| "sup"24| "table"25| "td"26| "thematicBreak"27| "tr"28| "ul";29export type Components = {30[key in ComponentType]?: React.ComponentType<any>;31};32export interface MDXProviderProps {33children: React.ReactNode;34components: Components;35}36export class MDXProvider extends React.Component<MDXProviderProps> {}37}
You do not have to include these types manually since they are imported already in our initial installation. If you use JavaScript just read through the types to see what is all supported.
So as we can see the components takes an object that must have the keys like h1, h2, li, or many more. In our case, the MDX we defined had a Headline and Paragraph. This can be customized as well:
1import { MDXProvider } from "@mdx-js/react";2import MDX from "@mdx-js/runtime";34// ...56const components = {7h1: (props) => <h1 style={{ color: "red" }}>{props.children}</h1>,8p: (props) => <p style={{ color: "green" }}>{props.children}</p>,9};1011const Post: React.FC<PostProps> = (props) => {12return (13<MDXProvider components={components}>14<MDX>{props.mdx}</MDX>15</MDXProvider>16);17};
When entering the pages now the heading should be rendered in red and the paragraphg in green. Since this is working, we can also try to introduce custom components. I like to use Chakra UI for most of my User Interfaces. It has a nice API and is also accessible. Just a perfect framework to build UI components.
For the Chakra-UI installation, we have to prepare our app though. But that is also simple. Add another file under the /pages directory called _app.tsx with the following content:
1import React from "react";2import type { AppProps } from "next/app";3import { ChakraProvider, theme, CSSReset } from "@chakra-ui/react";45const App = ({ Component, pageProps }: AppProps) => {6return (7<ChakraProvider theme={theme}>8<CSSReset />9<Component {...pageProps} />10</ChakraProvider>11);12};1314export default App;
This will set up the ChakraProvider which is needed, so that the Chakra UI components will work.
So with Chakra UI, the [post].tsx page would look like the following:
1import { MDXProvider } from "@mdx-js/react";2import MDX from "@mdx-js/runtime";3import { Heading, Text } from "@chakra-ui/react";45// ...67const components = {8h1: (props) => (9<Heading as="h1" size="lg">10{props.children}11</Heading>12),13p: (props) => (14<Text as="p" size="md">15{props.children}16</Text>17),18};1920const Post: React.FC<PostProps> = (props) => {21return (22<MDXProvider>23<MDX components={components}>{props.mdx}</MDX>24</MDXProvider>25);26};
This works great. You can extend this approach to all the other types of components. It is a little hassle, but definitely worth it, because readability and design will be improved.
Introducing custom components
So everything we did so far should also work with normal Markdown, right? We have not included any custom components so far. The MDX files just included regular markdown with the inclusion of meta data that was also kind of markdown comform. But what if we want to have a custom component, as mentioned before with <SomeComplicatedInteractiveGraph data={data} />? That is what MDX is for. Normally you could import files inside the MDX file. This is not possible unfortunately with our method, so we need to register the components manually.
We need to adjust our MDX to use that custom component as the following. I included the following changes in content/some-random-path.mdx.
1...23<SomeComplicatedInteractiveGraph4data={[5{ x: 1, y: 2 },6{ x: 2, y: 3 },7]}8/>
You just have to remember to pass the component as a prop as well to the <MDX> component in the code:
1// ...2const components = {3// ...4SomeComplicatedInteractiveGraph: (props) => {5return (6<div>7{/* Here could be some graph logic, this is now really simple */}8{JSON.stringify(props.data)}9</div>10);11},12};1314const Post: React.FC<PostProps> = (props) => {15return (16<MDXProvider>17<MDX components={components}>{props.mdx}</MDX>18</MDXProvider>19);20};
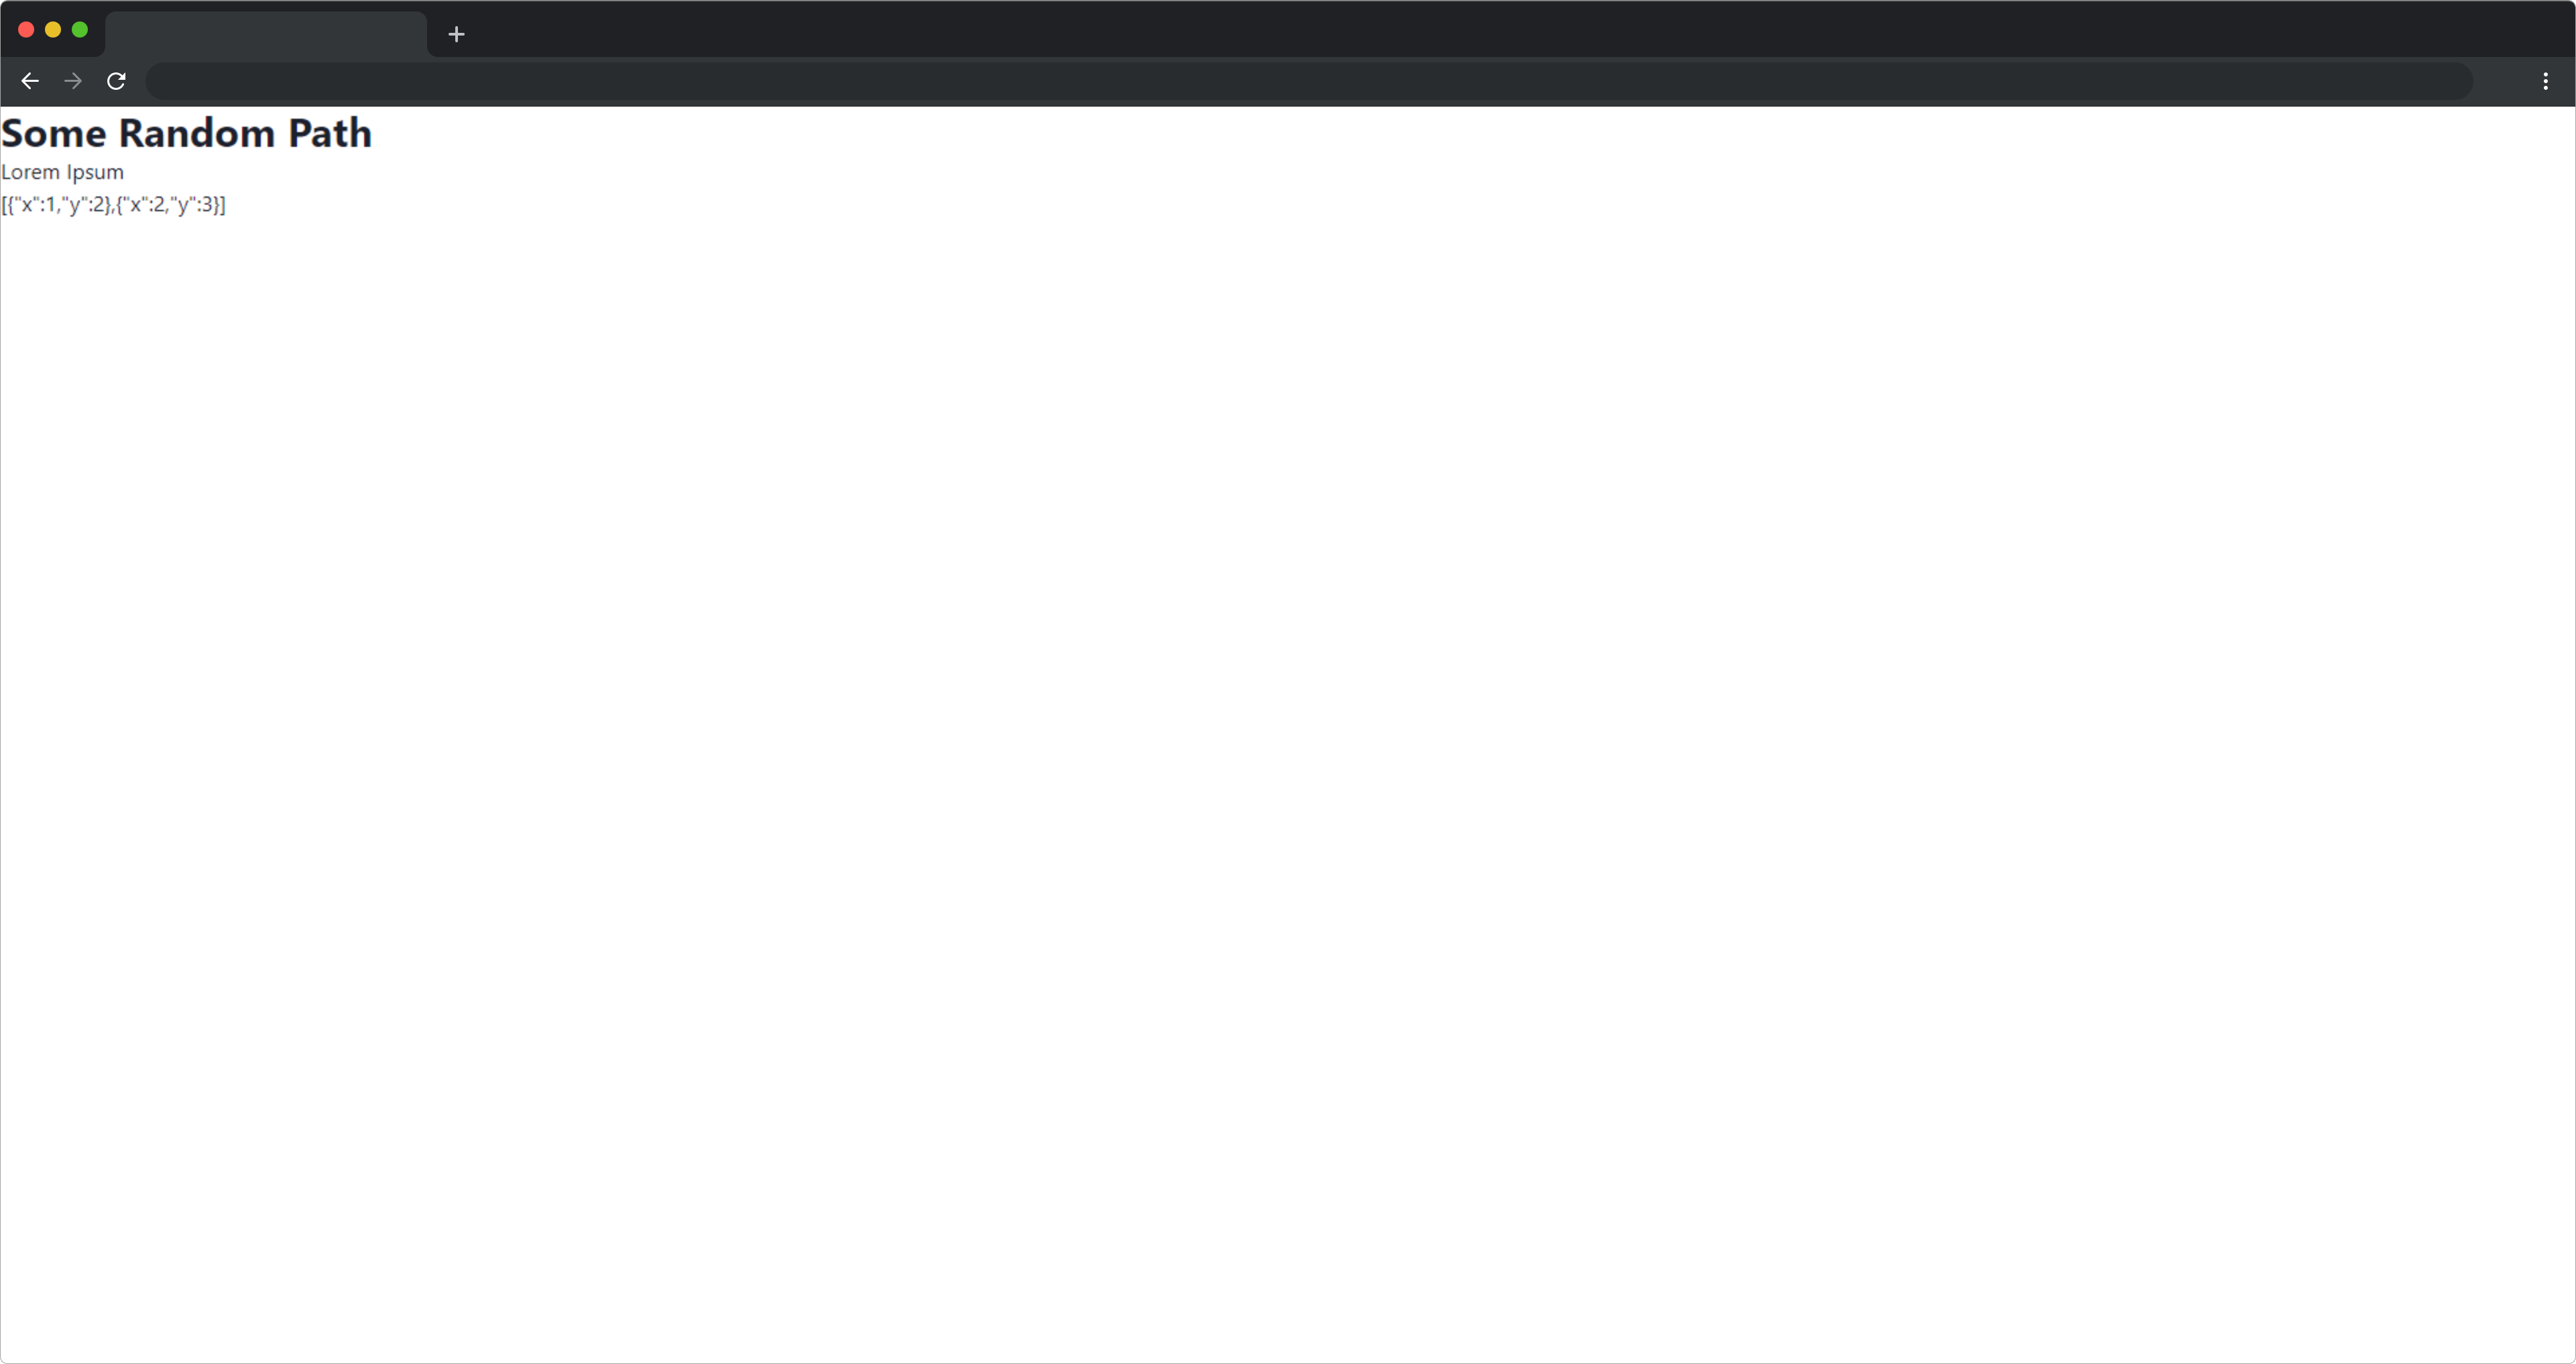
This is quite simple and works. But we could try to generate the data statically for the graph in the getStaticProps function and then pass it to the component. So let us first change our MDX back again:
1...23<SomeComplicatedInteractiveGraph />
Now we should not see anything rendered for this component which is fine since it does not take any data.
So now in our [post].tsx, we have to create components dynamically per page. That can be quite simply done in the following fashion:
1// ...23const baseComponents = {4h1: (props) => (5<Heading as="h1" size="lg">6{props.children}7</Heading>8),9p: (props) => (10<Text as="p" size="md">11{props.children}12</Text>13),14};1516const Post: React.FC<any> = (props) => {17const adjustedComponents = {18...baseComponents,19SomeComplicatedInteractiveGraph: () => {20return <div>{JSON.stringify([{ x: 2, y: 3 }])}</div>;21},22};2324return (25<MDXProvider components={adjustedComponents}>26<MDX>{props.mdx}</MDX>27</MDXProvider>28);29};3031// ...
Our baseComponents stay the same throughout all paths. But the <SomeComplicatedInteractiveGraph /> changes with every post and gets replaced with the real component that also accepts the data and renders it. The only thing is passing the props dynamically now. But that is simple:
1const Post: React.FC<any> = (props) => {2const adjustedComponents = {3...baseComponents,4SomeComplicatedInteractiveGraph: () => {5return <div>{JSON.stringify(props.customGraphData)}</div>;6},7};89return (10<MDXProvider components={adjustedComponents}>11<MDX>{props.mdx}</MDX>12</MDXProvider>13);14};1516export const getStaticProps: GetStaticProps = async (props) => {17const folderPath = path.join(process.cwd(), "content");18const filePath = path.join(folderPath, `${props.params.post}.mdx`);19const rawFileSource = fs.readFileSync(filePath);2021const { content, data } = matter(rawFileSource);2223return {24props: {25mdx: content,26metaInformation: data,27customGraphData: [28{ x: 1, y: 1 },29{ x: 3, y: 5 },30{ x: 32, y: 32 },31],32},33};34};
With this technique you can use MDX to render custom components and so on. A use-case would be for example, Ads that would be custom implemented but also general customizations regarding style. This whole blog is implemented in this way, and I profit from this workflow a lot - simply making it easier to edit blogs and extend them. In the following chapter I will list a short summary of all we did.
Cheat sheet with 3-step Installation
With this cheat sheet you will be able to use MDX for your custom blog in minutes. This should be just used if you are experienced with Next.js.
Add the following dependencies
1yarn add next react react-dom gray-matter @mdx-js/react @mdx-js/runtime2# If typescript3yarn add -D typescript @types/react and @types/node @types/mdx-js__react
Create content
Create Folder: content with the file some-random-path.mdx
Include the following content:
1---2seoTitle: "This is a nice title"3---45# Some Random Path67Lorem Ipsum89<SomeComplicatedInteractiveGraph />
Create Next.js dynamic page
After that create a [post].tsx page or in any subdirectory. Be careful with subdirectories because some file paths might have changed:
1import matter from "gray-matter";2import { GetStaticPaths, GetStaticProps } from "next";3import fs from "fs";4import path from "path";5import { MDXProvider } from "@mdx-js/react";6import MDX from "@mdx-js/runtime";78type PostProps = {9mdx: string;10metaInformation: { seoTitle: string };11customGraphData: Array<{ x: number; y: number }>;12};1314const baseComponents = {15h1: (props) => <h1 style={{ color: "red" }}>{props.children}</h1>,16p: (props) => <p style={{ color: "green" }}>{props.children}</p>,17};1819const Post: React.FC<PostProps> = (props) => {20const adjustedComponents = {21...baseComponents,22SomeComplicatedInteractiveGraph: () => {23return <div>{JSON.stringify(props.customGraphData)}</div>;24},25};2627return (28<MDXProvider components={adjustedComponents}>29<MDX>{props.mdx}</MDX>30</MDXProvider>31);32};3334export const getStaticProps: GetStaticProps = async (props) => {35const folderPath = path.join(process.cwd(), "content");36const filePath = path.join(folderPath, `${props.params.post}.mdx`);37const rawFileSource = fs.readFileSync(filePath);3839const { content, data } = matter(rawFileSource);4041return {42props: {43mdx: content,44metaInformation: data,45customGraphData: [46{ x: 1, y: 1 },47{ x: 3, y: 5 },48{ x: 32, y: 32 },49],50},51};52};5354export const getStaticPaths: GetStaticPaths = async () => {55return {56paths: [{ params: { post: "some-random-path" } }],57fallback: false,58};59};6061export default Post;
Adjust next.config.js
1module.exports = {2webpack: (config, { isServer }) => {3// console.log({ config });4// Fixes npm packages that depend on `fs` module5if (!isServer) {6config.node = { fs: "empty" };7}8return config;9},10};
You might also like
Personal branding as a Software Engineer
Getting far ahead in your Software Engineering career is difficult. Getting an entry-level job is difficult these days. So make sure your personal brand is developed to get the best opportunities.
The Best Tech Companies in Berlin 2021
Finding a technology company in Berlin you should work for is difficult. This list will show you the best companies to work for in 2021 that mostly speak english. From startups to bigger companies. The most promising companies are presented in this article.